hadoop搭建与单节点及伪集群启动
目标
单点的hadoop以及伪分布搭建
准备材料
1)平台
linux操作平台
2)软件
2.1 JDK支持,HadoopJavaVersions
2.2 ssh,用来管理远程hadoop节点
3)软件安装,我用的是阿里的centos 系统
yum install ssh*
yum install rsync*
4)hadoop下载
去官网下载稳定版本, Apache Download Mirrors
5) 准备工作完毕,准备搭建hadoop
5.1 解压已下载的hadoop,进入到hadoop目录(下面用{hadoopHome}代替),设置Java环境变量
vim {hadoopHome}/etc/hadoop/hadoop-env.sh
5.2 修改JAVA_HOME(到java目录,bin的父目录)
# set to the root of your Java installation
export JAVA_HOME=/usr/java/latest
5.3 执行命令
./{hadoopHome}/bin/hadoop 可以查看hadoop命令,之后就可以尝试启动hadoop集群了
Usage: hadoop [--config confdir] [COMMAND | CLASSNAME]
  CLASSNAME            run the class named CLASSNAME
 or
  where COMMAND is one of:
  fs                   run a generic filesystem user client
  version              print the version
  jar <jar>            run a jar file
                       note: please use "yarn jar" to launch
                             YARN applications, not this command.
  checknative [-a|-h]  check native hadoop and compression libraries availability
  distcp <srcurl> <desturl> copy file or directories recursively
  archive -archiveName NAME -p <parent path> <src>* <dest> create a hadoop archive
  classpath            prints the class path needed to get the
                       Hadoop jar and the required libraries
  credential           interact with credential providers
  daemonlog            get/set the log level for each daemon
  trace                view and modify Hadoop tracing settings
6)单点hadoop搭建
默认情况下,Hadoop被配置为作为单个Java进程,以非分布式模式运行。这对于调试非常有用。 下面的示例复制未打包的conf目录作为输入,然后查找并显示给定正则表达式的每个匹配项输出到给定的目录。(下面只是个例子,仅此而已)
 {hadoopHome}/mkdir input
 {hadoopHome}/cp etc/hadoop/*.xml input
 ./{hadoopHome}/bin/hadoop jar share/hadoop/mapreduce/hadoop-mapreduce-examples-2.9.2.jar grep input output 'dfs[a-z.]+'
 {hadoopHome}/cat output/*
18/12/29 10:38:22 INFO Configuration.deprecation: session.id is deprecated. Instead, use dfs.metrics.session-id
18/12/29 10:38:22 INFO jvm.JvmMetrics: Initializing JVM Metrics with processName=JobTracker, sessionId=
18/12/29 10:38:22 INFO input.FileInputFormat: Total input files to process : 8
18/12/29 10:38:22 INFO mapreduce.JobSubmitter: number of splits:8
18/12/29 10:38:23 INFO mapreduce.JobSubmitter: Submitting tokens for job: job_local942779977_0001
18/12/29 10:38:23 INFO mapreduce.Job: The url to track the job: http://localhost:8080/
18/12/29 10:38:23 INFO mapreduce.Job: Running job: job_local942779977_0001
18/12/29 10:38:23 INFO mapred.LocalJobRunner: OutputCommitter set in config null
18/12/29 10:38:23 INFO output.FileOutputCommitter: File Output Committer Algorithm version is 1
18/12/29 10:38:23 INFO output.FileOutputCommitter: FileOutputCommitter skip cleanup _temporary folders under output directory:false, ignore cleanup failures: false
18/12/29 10:38:23 INFO mapred.LocalJobRunner: OutputCommitter is org.apache.hadoop.mapreduce.lib.output.FileOutputCommitter
18/12/29 10:38:23 INFO mapred.LocalJobRunner: Waiting for map tasks
18/12/29 10:38:23 INFO mapred.LocalJobRunner: Starting task: attempt_local942779977_0001_m_000000_0
18/12/29 10:38:23 INFO output.FileOutputCommitter: File Output Committer Algorithm version is 1
18/12/29 10:38:23 INFO output.FileOutputCommitter: FileOutputCommitter skip cleanup _temporary folders under output directory:false, ignore cleanup failures: false
18/12/29 10:38:23 INFO mapred.Task:  Using ResourceCalculatorProcessTree : [ ]
18/12/29 10:38:23 INFO mapred.MapTask: Processing split: file:/opt/hadoop-2.9.2/input/hadoop-policy.xml:0+10206
18/12/29 10:38:23 INFO mapred.MapTask: (EQUATOR) 0 kvi 26214396(104857584)
18/12/29 10:38:23 INFO mapred.MapTask: mapreduce.task.io.sort.mb: 100
18/12/29 10:38:23 INFO mapred.MapTask: soft limit at 83886080
18/12/29 10:38:23 INFO mapred.MapTask: bufstart = 0; bufvoid = 104857600
18/12/29 10:38:23 INFO mapred.MapTask: kvstart = 26214396; length = 6553600
18/12/29 10:38:24 INFO mapred.MapTask: Map output collector class = org.apache.hadoop.mapred.MapTask$MapOutputBuffer
18/12/29 10:38:24 INFO mapred.LocalJobRunner:
18/12/29 10:38:24 INFO mapred.MapTask: Starting flush of map output
...
cat输出
1 dfsadmin
7) 伪分布式操作
Hadoop还可以在伪分布式模式下的单个节点上运行,其中每个Hadoop守护进程都在单独的Java进程中运行
7.1 修改配置
修改{hadoopHome}etc/hadoop/core-site.xml配置
<configuration>
    <property>
        <name>fs.defaultFS</name>
        <value>hdfs://localhost:9000</value>
    </property>
</configuration>
修改{hadoopHome}etc/hadoop/hdfs-site.xml配置
<configuration>
    <property>
        <name>dfs.replication</name>
        <value>1</value>
    </property>
</configuration>
7.2 检查ssh localhost是否能通
ssh localhost
如果不通的话
The authenticity of host 'localhost (127.0.0.1)' can't be established.
ECDSA key fingerprint is SHA256:aBAh08************hxSM.
ECDSA key fingerprint is MD5:d1:aa:8a:*************cc:4e.
Are you sure you want to continue connecting (yes/no)? no
Host key verification failed.
执行以下指令
ssh-keygen -t rsa -P '' -f ~/.ssh/id_rsa
cat ~/.ssh/id_rsa.pub >> ~/.ssh/authorized_keys
chmod 0600 ~/.ssh/authorized_keys
7.3 格式化文件系统
$ bin/hdfs namenode -format
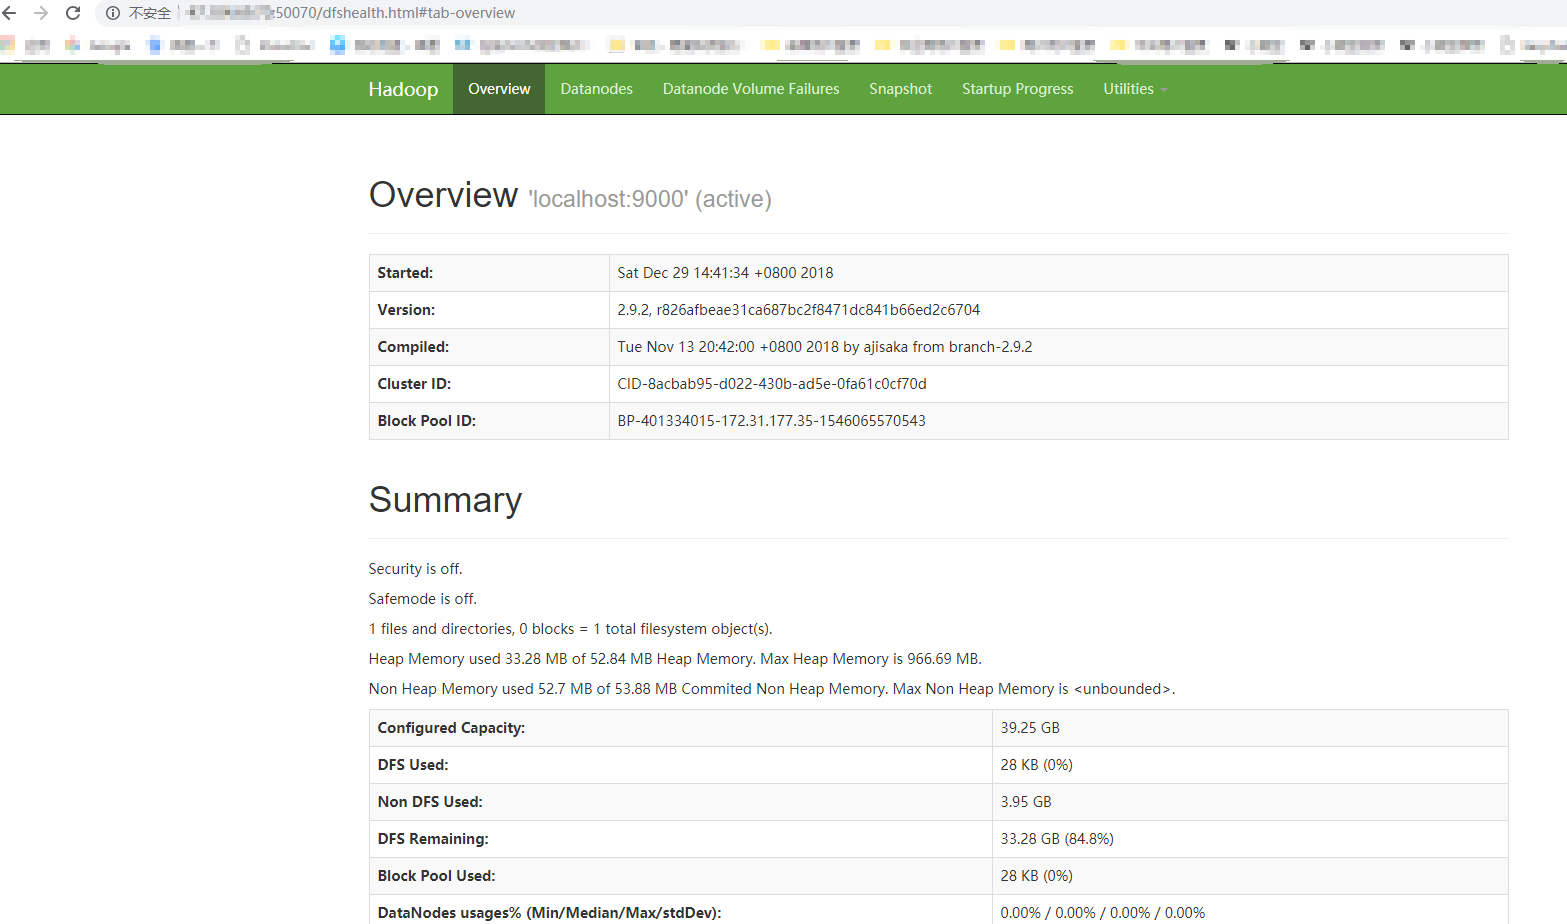
7.4 启动 HDFS
$ sbin/start-dfs.sh 这将启动一个NameNode,一个DataNode和一个SecondaryNameNode
[root@xxx hadoop-2.9.2]# jps|grep Node
30861 NameNode
31503 SecondaryNameNode
31087 DataNode
之后就可以在浏览器查看相关信息了
http://xxx:50070/
7.5 相关指令
创建HDFS路径以支持执行MapReduce任务:
  $ bin/hdfs dfs -mkdir /user
  $ bin/hdfs dfs -mkdir /user/<username>
拷贝输入文件到分布式系统:
$ bin/hdfs dfs -put etc/hadoop input
运行提供的示例:
$ bin/hadoop jar share/hadoop/mapreduce/hadoop-mapreduce-examples-2.9.2.jar grep input output 'dfs[a-z.]+'
检查输出文件:将输出文件从分布式文件系统复制到本地文件系统并检查它们:
  $ bin/hdfs dfs -get output output
  $ cat output/*
查看分布式文件系统上的输出文件:
$ bin/hdfs dfs -cat output/*
关闭进程:
$ sbin/stop-dfs.sh
8) 单节点运行YARN
8.1 修改配置文件
文件如果只有template就复制一个重命名为mapred-site.xml
etc/hadoop/mapred-site.xml
<configuration>
    <property>
        <name>mapreduce.framework.name</name>
        <value>yarn</value>
    </property>
</configuration>
etc/hadoop/yarn-site.xml
<configuration>
    <property>
        <name>yarn.nodemanager.aux-services</name>
        <value>mapreduce_shuffle</value>
    </property>
</configuration>
启动 $ sbin/start-yarn.sh
8.2 浏览器访问
http://localhost:8088/ 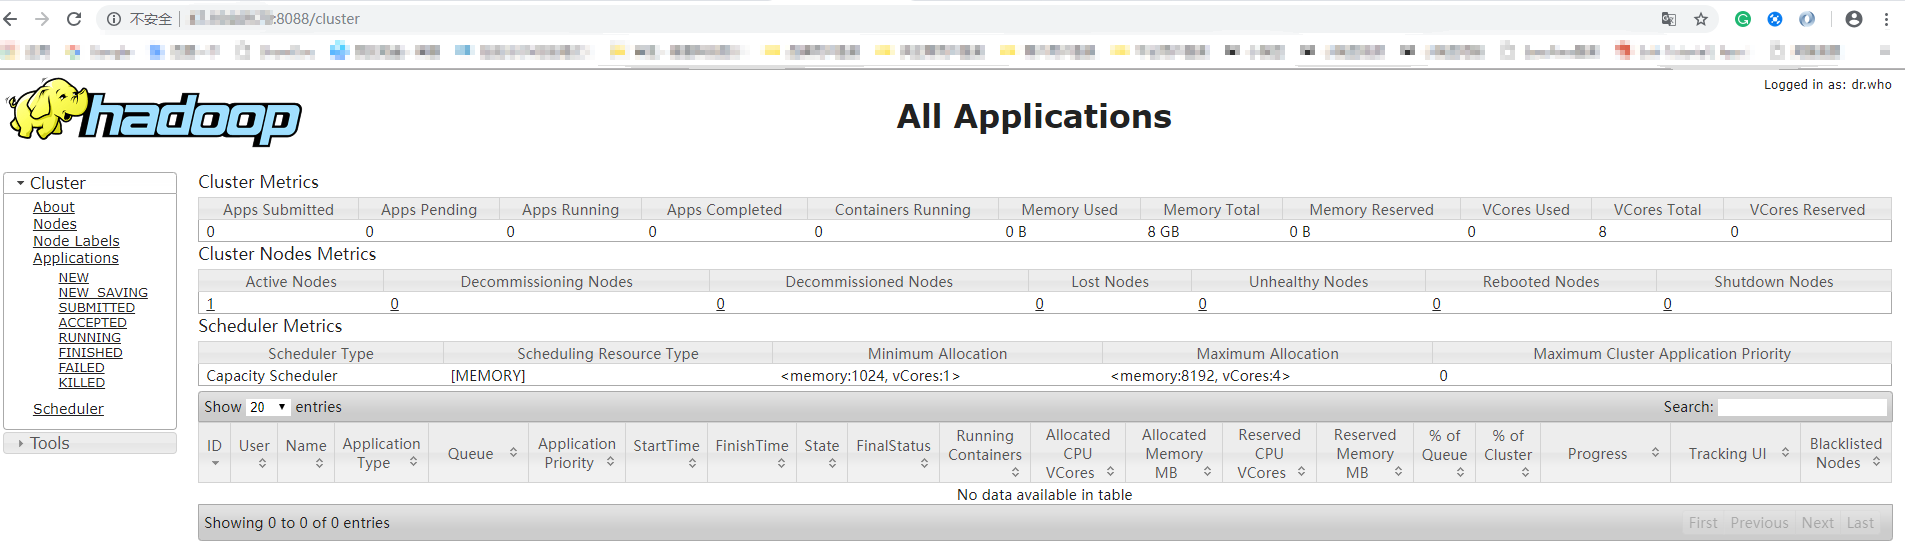
8.3 关闭指令
$ sbin/stop-yarn.sh
下一篇描述如何搭建hadoop集群 Cluster Setup