Liunx下yum搭建SVN
SVN是Subversion的简称,是一个开放源代码的版本控制系统
1.安装svn
执行yum -y install subversion
# yum -y install subversion
Loaded plugins: security
base                                                                                                                                                                                                                                                   | 3.7 kB     00:00
epel                                                                                                                                                                                                                                                   | 4.7 kB     00:00
extras                                                                                                                                                                                                                                                 | 3.3 kB     00:00
nginx                                                                                                                                                                                                                                                  | 2.9 kB     00:00
updates                                                                                                                                                                                                                                                | 3.4 kB     00:00
updates/primary_db                                                                                                                                                                                                                                     | 5.1 MB     00:00
Setting up Install Process
Resolving Dependencies
--> Running transaction check
---> Package subversion.i686 0:1.6.11-10.el6_5 will be updated
---> Package subversion.i686 0:1.6.11-15.el6_7 will be an update
--> Finished Dependency Resolution

Dependencies Resolved

==============================================================================================================================================================================================================================================================================
 Package                                                            Arch                                                         Version                                                                   Repository                                                    Size
==============================================================================================================================================================================================================================================================================
Updating:
 subversion                                                         i686                                                         1.6.11-15.el6_7                                                           base                                                         2.2 M

Transaction Summary
==============================================================================================================================================================================================================================================================================
Upgrade       1 Package(s)

Total download size: 2.2 M
Downloading Packages:
subversion-1.6.11-15.el6_7.i686.rpm                                                                                                                                                                                                                    | 2.2 MB     00:00
Running rpm_check_debug
Running Transaction Test
Transaction Test Succeeded
Running Transaction
  Updating   : subversion-1.6.11-15.el6_7.i686                                                                                                                                                                                                                            1/2
  Cleanup    : subversion-1.6.11-10.el6_5.i686                                                                                                                                                                                                                            2/2
  Verifying  : subversion-1.6.11-15.el6_7.i686                                                                                                                                                                                                                            1/2
  Verifying  : subversion-1.6.11-10.el6_5.i686                                                                                                                                                                                                                            2/2

Updated:
  subversion.i686 0:1.6.11-15.el6_7

Complete!
2.建立版本库目录并配置
执行
mkdir -p /var/www/svndata
svnserve -d -r /var/www/svndata
mkdir -p /var/www/svndata
svnserve -d -r /var/www/svndata
3.建立版本库:创建一个新的Subversion项目
执行 svnadmin create /var/www/svndata/myproject
svnadmin create /var/www/svndata/myproject
4.配置允许用户访问(配置不能有空格)
执行
  cd /var/www/svndata/myproject/conf
  vi svnserve.conf
cd /var/www/svndata/myproject/conf
vi svnserve.conf
找到相关配置
[general]
### These options control access to the repository for unauthenticated
### and authenticated users.  Valid values are "write", "read",
### and "none".  The sample settings below are the defaults.
# anon-access = read
# auth-access = write
### The password-db option controls the location of the password
### database file.  Unless you specify a path starting with a /,
### the file's location is relative to the directory containing
### this configuration file.
### If SASL is enabled (see below), this file will NOT be used.
### Uncomment the line below to use the default password file.
# password-db = passwd
### The authz-db option controls the location of the authorization
### rules for path-based access control.  Unless you specify a path
### starting with a /, the file's location is relative to the the
### directory containing this file.  If you don't specify an
### authz-db, no path-based access control is done.
### Uncomment the line below to use the default authorization file.
# authz-db = authz
### This option specifies the authentication realm of the repository.
### If two repositories have the same authentication realm, they should
### have the same password database, and vice versa.  The default realm
改成
anon-access=none
auth-access=write
password-db=passwd
5.配置用户名/密码
执行vi passwd
vi passwd
[users]
# harry = harryssecret
# sally = sallyssecret
改成
[users]
# harry = harryssecret
# sally = sallyssecret
chris = 123456
至此,SVN安装已经完毕(如果svn未开启,进行开启操作svnserve -d -r /var/www/svndata)
6.SVN客户端连接
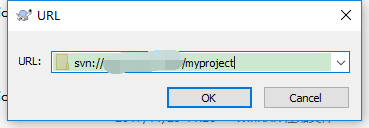
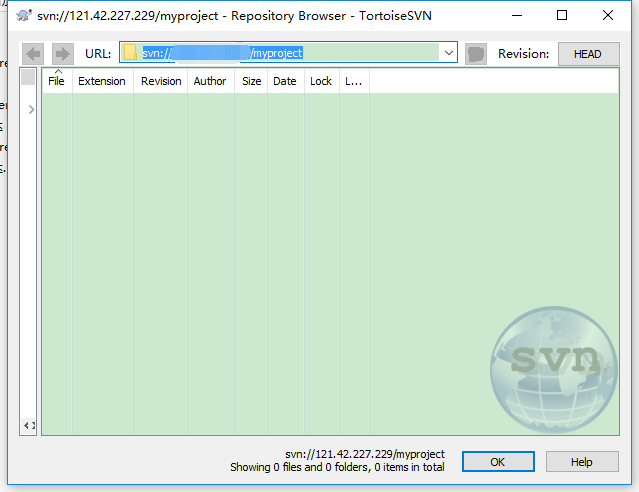
svn路径:svn://{ip}/myproject 用户名密码是之前设置的chris/123456  一个空的项目已经建成